
Getting great baby handprint or footprint can be really tricky! Have you tried taking baby’s prints with paint or ink before? It’s like a military operation! You get the child safe paint or ink pad ready and line the floors, walls and ceiling with newspaper.
With everything laid out, you psych yourself up for the imminent mess and tears – baby’s and your’s! The bath and change of clothes are ready for the clean up afterwards.
And the results are usually a squelchy blur with possibly one decent footprint. There are probably more hand and footprints on the floor and walls than on your carefully prepared piece of paper.
So many parents have come to me, telling me that it’s impossible to get their baby’s tight little fist flat enough to do a print. Newborn baby’s actually have a natural grasp reflex which originates from our Ape ancestors so that they automatically hold on tight to Mum’s furry back. A really useful fail safe back then but now it just makes doing hand prints really tricky!
I’ve had lots of experience printing hundreds of little hands over the years, so here are my Top 10 Tips for getting a great baby handprint and footprint:
1. Use a My Little Keepsake Inkless Print Kit. They are non toxic and safe to use right from birth. I’ve tried and tested these kits and as there’s no mess, you’ll feel more relaxed doing the prints and will get a much better result. Also, because there’s no clean up afterwards, you can do the prints while baby’s sleeping / feeding / or otherwise occupied. After printing, they can get right back on with whatever they were doing. In fact, doing the prints while baby is asleep or feeding is a really great idea!
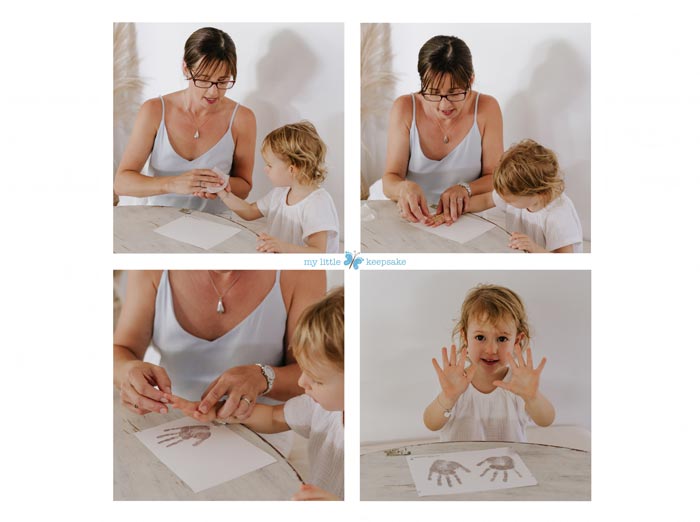
2. Have a helper – don’t attempt this on your own – you haven’t got enough hands to keep baby, the paper and your own sanity still and calm! 3 people to do a print is ideal – one to hold baby; one to hold the special paper on a board or book; and one who has 2 hands free to get baby’s hand flat.
3. Always have a dry run first – before you get the wipe out, practice getting baby’s hand flat a few times first. You can’t do this enough! Spend lots of time with your helpers working out the best position for everyone to be in and keep pressing that hand flat on a board or book. By the time you get your Inkless wipe and paper out, you’ll be a Pro!
4. Be confident and firm – baby won’t break! It’s so important to be strong and firm about it. Practicing without the wipe and paper first (Tip 3) will really help. Babies are surprisingly strong – as you’ll discover when you try and get their tiny hand flat! As long as baby is being held securely and lovingly, you can use quite a bit of strength to spread their hand out flat and hold it down for a few seconds.
5. Use 2 hands to spread baby’s hand out flat (it may take time if they’ve got a fist) and lay it down by the base of the Palm first, then let the fingers follow. It doesn’t matter if you rub their hand with yours when making the print – you won’t rub all of the inkless magic off. Just stretch that hand out flat using BOTH of your hands and press it on the paper firmly. Always RE-WIPE the hand or foot with the inkless wipe before the next print.
6. Position the prints on the paper carefully – If you plonk your first print in the middle of the page, you’ll run out space really quickly. Start in the top left corner and work your way across, then you’ll be able to fit lots more prints on the paper. Hey presto – a great baby handprint!
CHECK OUT MY INKLESS PRINT KITS HERE
FREE Standard Shipping within Australia
7. Printing feet is much easier but don’t do it when baby’s lying or sitting down. Put the paper on a board or book on the floor – or on a work surface depending on your height and baby’s size. Then you can hold baby up as if they’re standing and your helper can press each foot down from heel to toe.The upright position means that you have gravity on your side and their foot will spread out more in preparation for standing. If you do it while baby’s lying down, you’re likely to stretch and distort the print.
8. For both hands and feet, you don’t need to press down for long. But make sure you press each digit or toe down. If it doesn’t touch the paper then it won’t print. It’s worth gently pressing the tips of the fingers and the knuckles down. If the first print didn’t work out – make sure you press those bits more carefully on the next go.
9. Don’t give up! If things aren’t working out or if baby (or you) are starting to get stressed, you can wrap the wipe back up in the foil sachet with some tape over the top. Wrap some cling wrap around it and put it in a zip lock bag. Keep it air tight and you should be able to use the wipe again later when everyone’s feeling more relaxed.
10. Make a copy. Scan the print in and keep a digital copy on your computer. The originals may get lost, damaged or fade over the years. If you have a digital copy as well then you will never lose them.
CLICK HERE TO WATCH MY VIDEO ON HOW TO MAKE A GREAT BABY PRINT
If you’re like me, visual instructions make things a lot clearer, so make sure you check out the video on my website here: Inkless Print Kit Instructions
Inkless print kits are great for Scrap booking and make awesome Baby Shower gifts too!
Happy printing and Have fun – doing these little prints make for some seriously special memories!
